How I Split My Compost Worm Bins Up So They Won't Go Dormant ( Winter, 2020)
Throughout both my successes and my failures at raising my European nightcrawlers, I've noticed that there is always one consistent thing:


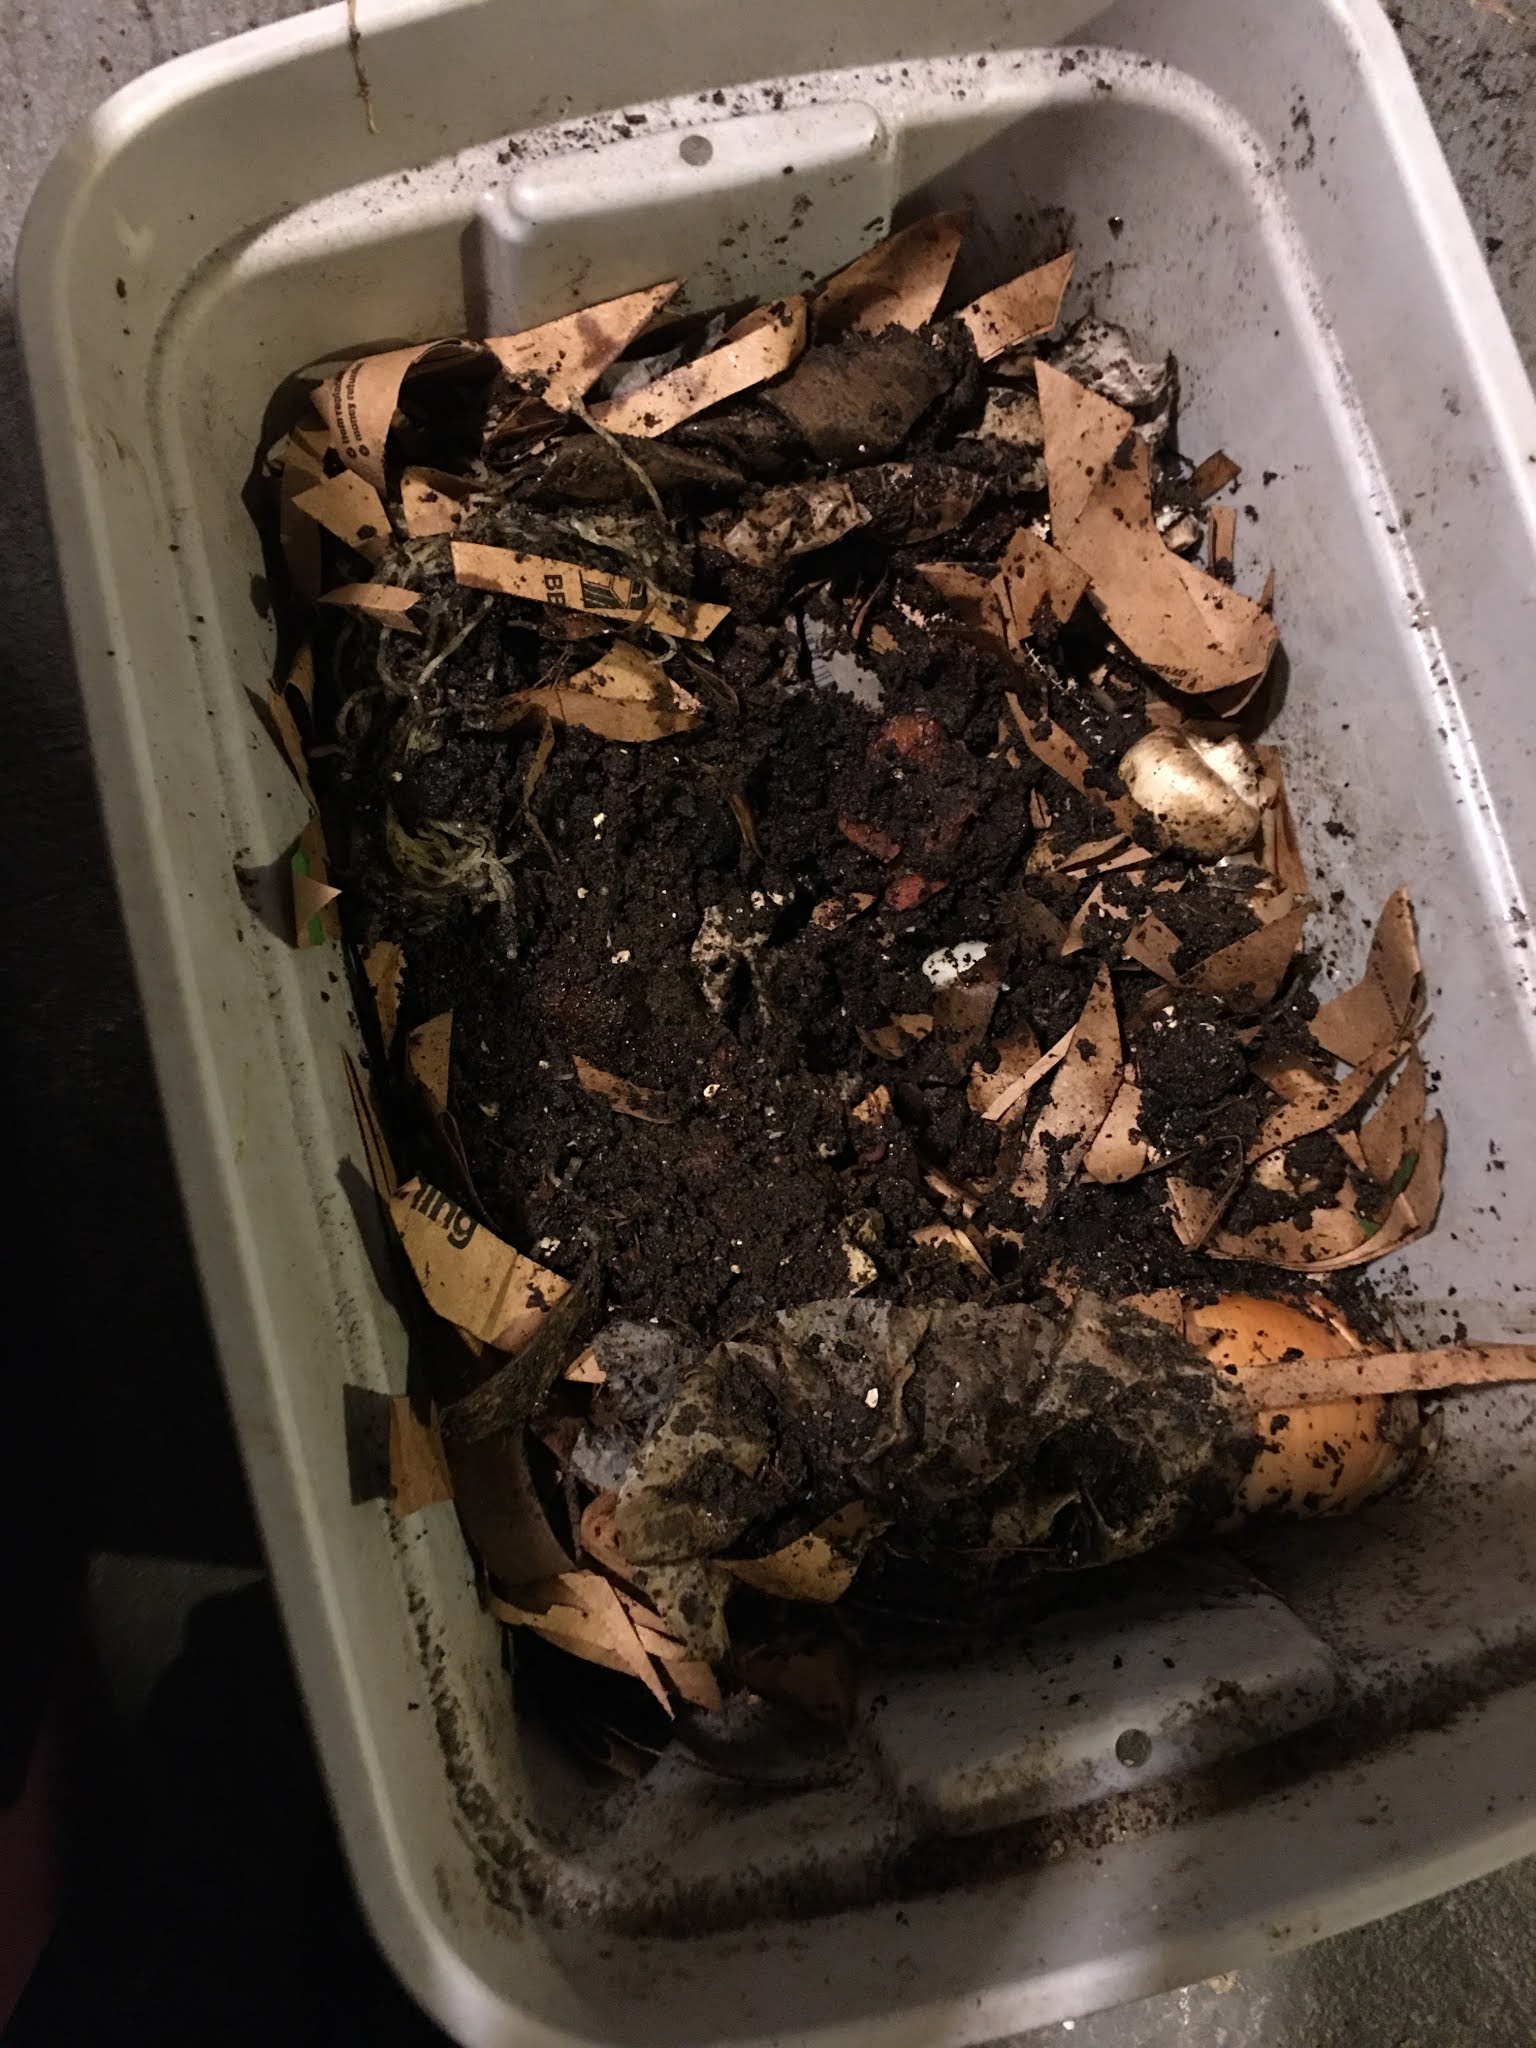
Step 2

Step 4


My Compost Worms Go Dormant In The Winter

Or at least I think they do.
Every blog that I read says that they do.
As does every video that I watch about "Preparing Vermicompost Bins for Cold Weather."
But Do They Really Actually Go Dormant?
Even though my European Nightcrawlers are " just worms," and very simple organisms in the grand scheme of things they ARE very sensitive to all changes in their environment. Not just the temperature. The amount of food and space available to sustain a growing colony changes in colder months. It doesn't take very long for them to realize these changes and the colony will self-regulate to keep from growing overcrowded, hungry, and cold on top of it all.
I think that the colony regulating seems like dormancy, but I also think it can be avoided in my bins this Winter because:
I Have Full Control Of Everything That Would Trigger My Compost Worms To "Go Dormant"
- I bought 2- 3 gallon storage totes to provide new space for the colony to expand.
- I culled my growing seed collection to plant various "cover crops" in my worm bedding. I'm going to let the seeds germinate and get a few inches tall. Then I'm going to till them back into the bedding for the worms to compost.
- The constant life/death cycle of the cover crops is going to better mimic what a worm naturally sees in warmer months, and it also creates heat.
- I already store my worm bins in the basement, but I'm moving them closer to the furnace for extra warmth.
How I Split My Compost Worm Bins And Turned 2 Bins Into 4
Materials:

- 2 3 gallon totes with lids ( I got my totes at either Dollar General or Family Dollar for $4 apiece.)
- 3 gallons of paper grocery bags, cardboard, toilet paper tubes, and organic egg cartons all shredded down to various shapes and sizes
- 1 gallon of hydrated coconut coir
- 1 gallon of wet feeding materials like fruits, vegetables, peelings, and cuttings from live plants
- 1 gallon of materials from my existing worm bins ( worms, bedding, cocoons, and all)
- 2 cups of crushed oyster shells
- 2 cups of random seeds
- 2 whole egg cartons
Steps:

Step 1
First I divided everything in half to be split up into 2 bins. I set the worms and food aside.

Step 2
Then I mixed up all of the coconut coir, shredded paper, and cardboard, crushed oyster shells, and seeds and put a whole egg carton in the bottom of the worm bins to create an air pocket and provide structure for the rest of the bedding.

Step 3
By filling and covering the egg carton with the bedding mixture, I have created a "ladder" for worms to escape any standing water that may accumulate in the bottom of the worm bins. I've also created a wick to soak up and distribute any standing water throughout the rest of the bedding materials.

After I had bedding and a safety ladder in place, I added the food that I had previously divided in half to each of the bins. I didn't process this feeding down into small bits for the worms like I usually do. Hopefully, the longer time that it takes for the worms to break down these larger pieces of foods, combined with the "cover crop" strategy will trick them into not going dormant.
Step 5
Next, I hollowed out some space in the center of each bin and made sure that the food items were scattered evenly throughout the bedding materials around the hole.

Step 6
Finally, it was time to add introduce the worms into their new home! I added about 1/2 gallon of the materials that came from my established bins into the cavities that I just hollowed out in each of the bins. This material contained quite a bit of European Nightcrawlers and cocoons and is going to serve as their safe haven and food source until the rest of the materials in the bin start to break down to their liking.

Step 7 (Optional)
I learned from my 2 established bins that layers of "mulch" on top of the bedding seem to improve the overall health of the worms. Before I close up any of my bins and put them back to work, I make sure that there is an inch or 2 of shredded paper spread across the top of the whole bin. Then I layer sheets of paper and plastic until I reach the lid. I hope that this also helps to insulate the colony here in a few weeks when the initial nitrogen-heavy feeding is done producing heat and the deep freezing phaze of Winter, 2020 sets in.

So Far It's Working
2 days ago I put the lids on my worm bins and set them beside the furnace for what was supposed to be a week.
At the end of that time, I was going to see if anything new seemed to be happening and update whether or not this experiment of mine is progressing at all.
Curiosity got the best of me though and I just had to take a peek in one of the bins.
After I peeled back all of the insulation and mulch layers, these 2 squash seedlings are what I was met with. I'll let them grow in the bin for a week or 2 and then I'll till them back into the soil for the worms.
I don't know for sure if this experiment is going to keep my worms from going dormant or not. I believe that I have been able to cover every need that would cause a compost worm to go into dormancy but only time will tell. I'll update this as soon as I can tell if splitting my worm colonies up worked the way I wanted it to or not. But whether I'm right or not, I've got 2 new worm bins to dig around in. So I still win.


Comments
Post a Comment