Avoid These 5 Big Mistakes That I Made When Starting I Started Raising Worms!

I Have WORMS!!
European nightcrawlers to be exact and I couldn't be any happier to finally have them! This is my 4th time now trying to raise worms. It's the 1st time that I've actually had success raising them though.
I've loved to garden and fish since I was about 8 years old. The idea of having an unlimited supply of organic fertilizer and bait with a small investment has been an interest of mine since I was old enough to have to pay to finance my hobbies.
One day I found an article in an old gardening magazine about a man who made a decent living with a worm farm that he maintained with a very broad spectrum of organic materials. (Most of which I could get my hands on for free.) Since I was young and practically knew everything about the universe and its workings, I skimmed the article, prepared a bunch of the materials, and ordered a pound of red wigglers to put into my worm bed. My problems were solved!
Except they weren't...
Mistake #1
Do Not Use a Clear Container For a Worm Bin!
I bedded my worms in a clear storage tote a little bigger than a shoebox and used a bright overhead light to drive them into the soil. After about 10 or 15 minutes, the last worm made its way down into the bedding. The next step was to let the worms get acclimated to their new habitat by not disturbing the bin for the next 48 hours so I lidded the container and left it in the basement at a very wormy 65 degrees.
4 or 5 hours later I came down into the basement to wash some laundry and found one of my red wigglers climbing up the side of the washing machine. I thought he was just restless from being mailed to me and being thrown into a new habitat. I kind of chuckled to myself as I collected a handful of restless worms on the way back to put them in their new home.
What I was met with at the bin though was like something out of a horror movie. I had about 1200 or 1300 worms all trying to escape the container at once! I had some seedlings and a plant light on the shelf above my worm bin and didn't take into account how sensitive worms are to light. They were fleeing the box to find darkness.
Instead:
 |
| An opaque tote or a clear container painted a dark color will protect worms and nightcrawlers from the light. |
Purchasing or recycling a dark-colored storage tote in the 15 to 18-gallon range is one of the quickest, easiest, most inexpensive ways to bed and protect as many as 5 pounds of worms or nightcrawlers. Clear containers like the protein powder canister that I use as a breeder jar can be painted or wrapped with duct tape or cloth to provide the needed darkness.
Mistake #2
Do Not Bed Red Wigglers or Nightcrawlers in a Bedding Made From Only Paper!
After finally figuring out why I kept witnessing a mass exodus of my worm population every few hours, I painted my bin and re-moistened the newspaper only bedding. It was a little bit dry because the past 2 days had been spent with the lid completely off of the worm bin as I replaced handfuls of escapees. I restarted my 48 hours, "do not disturb" timer to let my worms get acclimated to their new home and left them alone.
48 hours had passed and I hadn't had an escapee so I decided that it was finally time for their first feeding! I blended up an old banana and about a cup of oatmeal and practically ran it to my worm bin, excited to give them their first official meal in their new home.
When I popped the lid open I was greeted with a smell that I can still smell to this very day! My whole worm population had died and were starting to rot! Paper bedding gets heavy and mats together when it gets wet and when I moistened my bedding it sealed all around my new pets and they suffocated.
In nature, composting worms live in the top 4 to 6 inches of organic material on the ground. They will happily eat, and live in natural materials like leaves, moss, lawn clippings, and manure. In my experience, these materials can have paper products (not glossy) added to them to add bulk, but cannot be replaced by paper alone.
Though some types of composting worms can eat their weight worth of food a day in ideal conditions, the average farmer, gardener, or fisherman won't find their worms able to do that in captivity. A much better guideline to follow is to cut the weight of food in half versus the weight of the worms. ( 1 pound of worms will eat through about 1/2 of a pound a day.)
A worm bin will eventually get very acidic due to a combination of decomposing organic matter and the worms themselves "going to the bathroom" in their bedding.
Instead:
 |
| This is coarsely shredded paper and cardboard to be added to a more natural bedding material. |
My Worm Bedding Recipe to Begin an 18-Gallon Tote:
Materials:
- 1 - 1.4 pound brick of coconut coir
- 1 pound of dead leaves, wood chips, or sawdust
- 1 pound of shredded or torn paper products
- 1 gallon of water
Directions:
- Hydrate the coconut coir in the gallon of water
- After the coir seems like it is completely hydrated, mix in the rest of the bedding materials and allow them to soak up all of the water.
- Squeeze out handfuls of the bedding material mix until they are just damp and no longer freely dripping water.
- Loosely drop the wrung out handfuls of bedding into the tote until it's all in there.
Mistake #3
Do Not Overfeed a Worm Population!
It took quite a while before I wanted to try to raise worms again after the die-off I'd had in my first bin. I didn't want to create another box of death for 1300 hardworking animals to suffocate in, but curiosity always kept wanting to have a worm farm in the back of my mind. I came up with the bedding recipe above and ordered another round of red wigglers to populate a bigger farm. Then I went through all of the motions of introducing the worms to a dark container full of mostly natural organic material and I gave them their 48 hours to get settled.
The night before their first scheduled feeding, I prepared a bunch of watermelon rinds, apple cores, coffee grounds, banana peels, leafy greens....etc. I'd saved up about 20 pounds of organic food scraps in anticipation and was very excited to finally be able to give my bait and compost suppliers a big meal in their big home!
The next morning I opened up my worm bin and poured a gigantic feast over the top of about half of the bedding. Then I covered over the fresh feeding with a few handfuls of aged lawn trimmings and leaves (dry carbon materials absorb odors) so I wouldn't attract any pests, From what I'd heard about red wigglers being able to eat their body weight in a day, I figured this size of a feeding would keep me from having to do anything to maintain my worm bin for the better part of a month.
I was so wrong. After about 4 or 5 days had passed, I witnessed another mass exodus. The food I had given to my pets was spoiling faster than they could break it down and they were fleeing from it to, and out of the opposite side of the bin!
Instead:
 |
| Frozen spinach to add to my next European nightcrawler feeding. |
A very good habit to get into is to feed a bed enough to only last for a few days. Then after the time has passed, check to see if any of the food from the previous feeding is left. If there is any food left at all, don't feed the worms until the next scheduled feeding. Should they happen to run out of food before then they will just eat their bedding materials while they wait for more scraps.
Use this recipe and feeding schedule with your worm bin for fat, healthy worms!
Mistake #4
Do Not Forget to Add Grit to a Worm Bed!
After about a month or so of running what I thought was a successful worm bin, the volume of food scraps that I could feed to my worms seemed to be declining. My worms even started seeming sluggish and dying off rather than reproduce like they should have been doing by then. I didn't know that worms needed a source of grit to help grind up their food, and I released the survivors into my garden so that whatever I was or wasn't doing would be responsible for the rest of them dying off.
Instead:
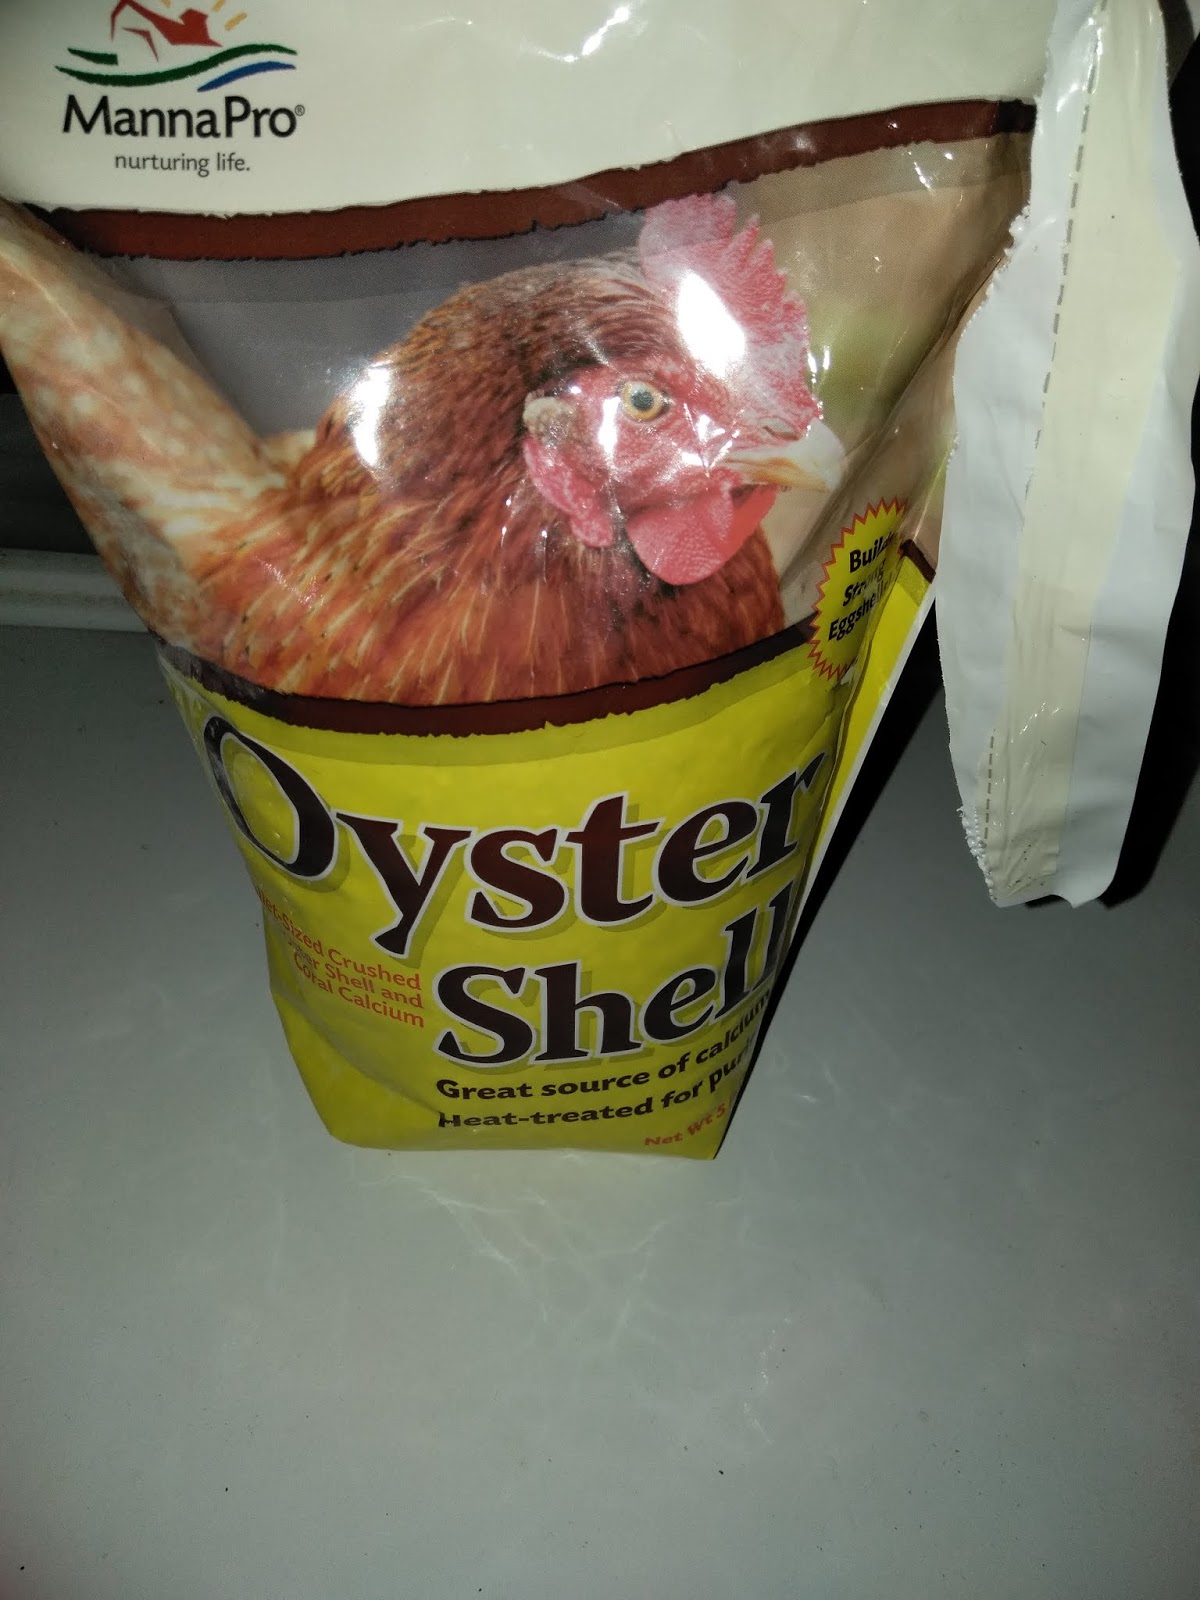 |
| A 5-pound bag of oyster shells waiting to serve as a source of grit for my nightcrawlers. |
Worms don't have teeth to grind up their food. They have a gizzard like a chicken. Crushed oyster shells. ground eggshells, pulverized limestone, and bone meal can all be added into food as a source of grit for a hungry bed.
Mistake #5
Do Not Forget to Buffer Your Worm Farm!
Ok so, a few years pass and I can't talk myself out of impulsively buying 60 fishing worms from a big box store to start an under-the-counter composting jar to compost waste in my kitchen. It was going to be an experiment and it was going to be a successful one this time!
I bedded my, what I now know were 60 European nightcrawlers in a gallon-sized plastic jar that had once held pickles in a combination of organic bagged compost, aged lawn clippings, cardboard, and just a little bit of sand.
This time my bin made it about 2 months before a disaster struck. One day my ex-wife was doing something at the kitchen sink and she noticed a worm...and another worm...and a mass evacuation from an acidic worm farm...
I pled that I knew how to fix the problem but the worms ended up freed into the garden anyhow.
Instead:
 |
| Fruit and vegetable wastes should be added to a worm bin with something to neutralize acidity. |
Mistake number 4 and mistake number 5 kind of goes hand in hand because eggshells, oyster shells, and pulverized limestone all are very alkaline. Using one of these grit sources will double as a bit of an extra measure of health for the bin because they will neutralize any acidic conditions.
The best time to start buffering a worm bin is when the bedding is prepared. It doesn't take a lot either. About 5% of my bedding mix is crushed oyster shells. ( about 1 cup per 18-gallon storage tote) Then, every time a bin needs fed, 1 teaspoon per pound of food will do just fine to keep things under control.
 |
| A few of my European nightcrawlers and a cocoon, (The cocoon is the brownish orb in the upper center,) |
I started my latest worm farm with the big box store European nightcrawlers in what I've now dubbed my breeder jar. I started off 9 months ago with 60 worms in a painted protein jug. They were bedded in coconut coir, paper towel tube, and oyster shell, and fed a recipe I had worked on to try to fatten them up a little bit to go catfishing.
The ones that survived my fishing trip started reproducing, and I noticed more and more cocoons (the #1 sign that you are running your bin correctly) in the bedding each time I would feed the worms.
Since then, I've had to expand from my breeder jar to a larger bin, and as you can see from the cocoon in the picture above, as of right now, keeping all of these mistakes in check is working in this one as well.
Transparency:
Links on this page will take you to either free resources or sites where I am an affiliate. If you purchase anything as a result of these clicks, I will be paid a small percentage. Whether you do or don't do this is up to you. In either case, thank you for being here today and if you enjoyed it, please share it with a friend.


Comments
Post a Comment